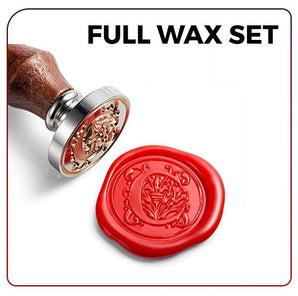





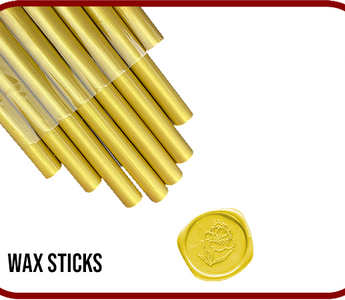
Short answer: melt a small amount of wax onto the surface, press the stamp straight down for a few seconds, then lift it straight up without twisting. The process is simple, but a few small habits make the difference between a crisp seal and a smudged one.
What You'll Need
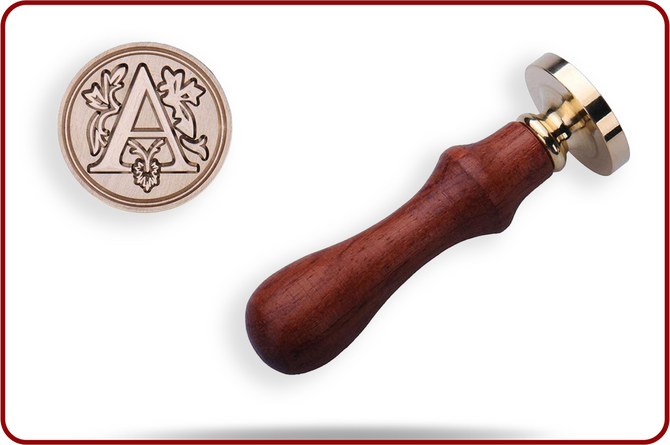
- A wax seal stamp
- Sealing wax — wax sticks for a glue gun are the most practical option for sealing more than a handful of envelopes
- A glue gun (or a spoon and a heat source, if using the traditional melting method)
- A heatproof surface to work on, and a spare piece of paper or card for testing
Step-by-Step
1. Test the design first
Before sealing a real envelope, press a couple of test seals on spare paper. This confirms the wax temperature is right and lets you check how much wax to use for your specific die size.
2. Warm the stamp slightly (optional)
Some people warm the metal die briefly before the first press of a session, which can help the wax release more cleanly. It's not essential, but it's a small habit that helps with consistency across a large batch.
3. Apply the wax
Melt the wax stick with the glue gun and let it drip directly onto the spot you want to seal, building up a small, even pool roughly the size of your die. Too little wax leaves a thin, patchy seal; too much spreads out past the edge of the stamp when you press.
4. Press and hold
Press the stamp straight down into the center of the wax pool while it's still soft, applying light, even pressure. Hold it in place for a few seconds — rushing this step is the most common cause of a blurry impression, since the wax needs a moment to firm up around the design.
5. Lift straight up
Lift the stamp straight up, without twisting or dragging it sideways. A twisting motion is the second most common cause of smudged seals, since it drags the still-soft wax across the design.
6. Let it cool fully before handling
Give the seal a minute to cool and harden completely before moving the envelope, especially if you're stacking sealed envelopes for posting.
Troubleshooting
- Seal looks patchy or thin: use slightly more wax next time, and make sure it's still soft when you press.
- Design looks smudged or doubled: you're likely lifting the stamp too early or twisting it — hold longer and lift straight up.
- Wax cracks after it's dried: flexible glue-gun wax sticks are generally more resistant to cracking than traditional brittle sealing wax, which matters if envelopes will be handled or posted rather than displayed.
Once you're comfortable with the process, our guide to choosing a wax seal stamp can help if you're deciding between die sizes and designs, and our main wax seal stamps page has more on wedding and corporate uses.