



Test a complete invitation before sealing the whole guest list. Check the seal position, the wax and the envelope together, then organise a small repeatable working area.
For options and an order enquiry, visit Custom Wax Seal Stamps.
Start with the finished envelope
Assemble one invitation with all inserts. Decide whether the seal belongs on the flap, a band or another part of the stationery. Check that guests can open it as intended. The final thickness and paper finish matter more than an empty-envelope test.
Prepare matching supplies
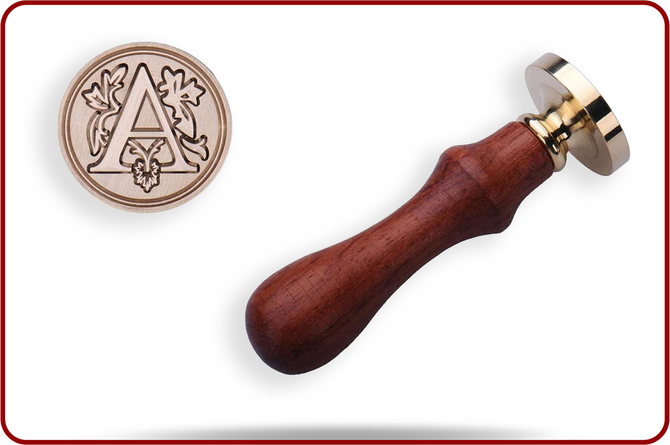
Confirm that the wax suits the tool used to melt it and that you have the colour you want. Keep the custom stamp, spare envelopes and a heat-safe working surface together. Follow the wax and tool instructions, and keep hot equipment away from children and loose paper.
Work in a small test batch
Try a few seals to establish a consistent amount of wax and a clean release. Let the seal set before moving the envelope. If the design sticks or the edges spread too far, adjust the process on spare materials before continuing.
Plan the mailing stage
Allow finished seals to cool fully before stacking or packing. Test the complete invitation in any outer envelope and check carrier requirements for raised decorations. If you still need the custom stamp, send the monogram, intended seal area and event date when ordering.
Read next: Why Your Wax Seal Looks Blurry or Sticks to the Stamp