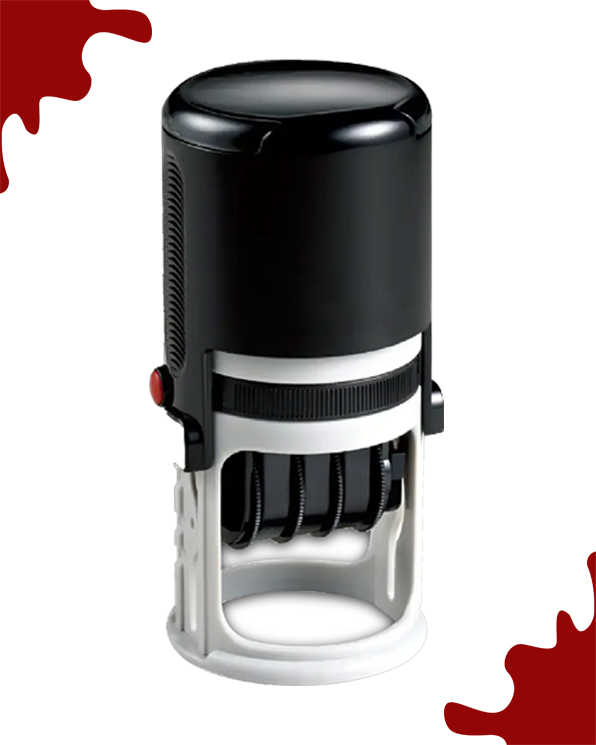
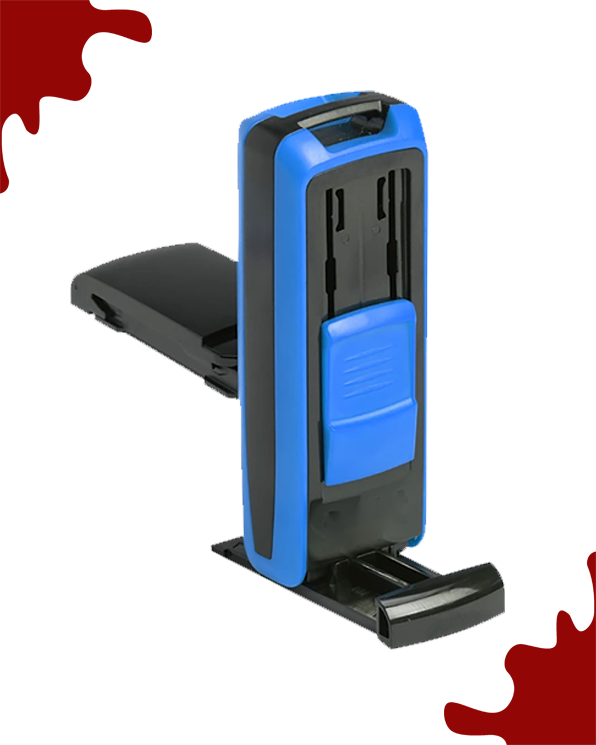
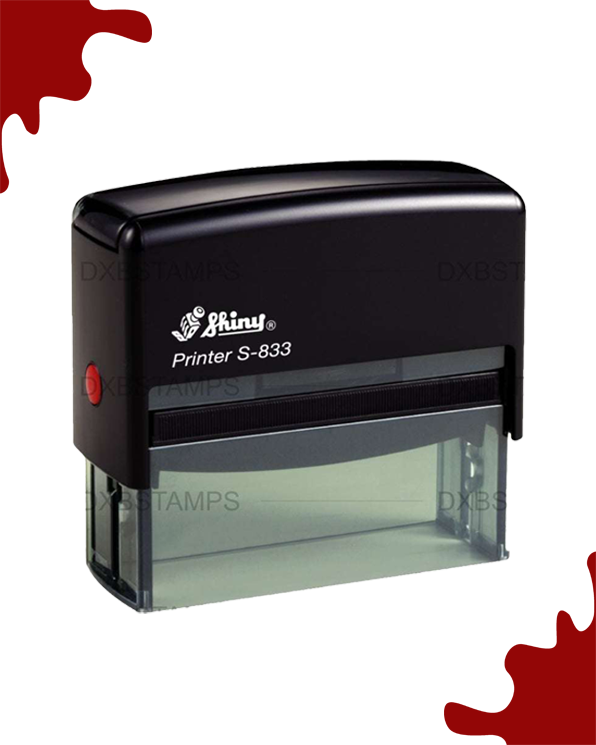
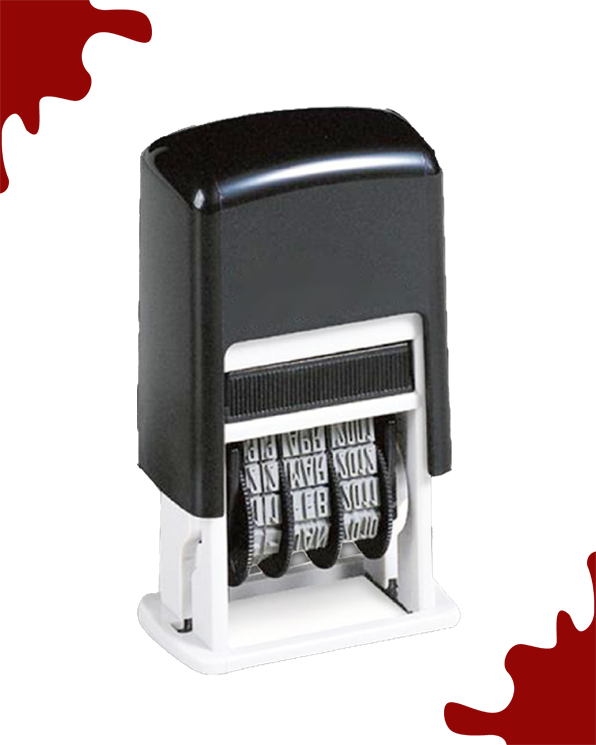
Short answer: work backwards from your opening date, starting with the items that take longest to finalise — menu content and branding — and treat items like cups and door hangers as later steps once the core design is locked.
Step 1: Lock Your Menu Content
Menu items, pricing structure, and categories should be finalised first, since almost everything else — table tents, QR cards, even cup or napkin branding — is designed to match the menu once it's set. Changing menu content after other items are designed usually means redesigning them too.
Step 2: Confirm Your Brand Look
With menu content locked, confirm the logo, colours and fonts that will appear across every printed item. Deciding this once, rather than per item, keeps a consistent look across the menu, table tents, cups and door hangers.
Step 3: Design and Order the Menu
The menu is usually the first item sent to print, since it takes the longest to finalise and everything else follows from it. See our menu printing materials guide for choosing paper and finish based on how the menu will be used.
Step 4: Decide on Table Tents, Menu Boards or QR Cards
With the menu finalised, decide how specials and promotions will be displayed at the table or counter. Our comparison guide covers which format suits different menu styles.
Step 5: Order Cups and Counter Items
If you're serving takeaway drinks, order printed cups or mugs once your branding is locked. This is worth doing earlier rather than later in the process, since custom-printed drinkware can take longer to produce than flat printed items like menus or table tents.
Step 6: Order Door Hangers and Opening Promotion
Door hangers for opening hours, a temporary closure notice during fit-out, or a promotional drop to nearby offices and residences are usually one of the last items ordered, since the exact opening date and hours are often confirmed close to launch.
Step 7: Proof Everything Together
Before final approval, lay out proofs of every item side by side — menu, table tent, cup, door hanger — rather than approving each one separately. This is the easiest point to catch a mismatched colour, an outdated logo version, or an inconsistent tone across items before they're printed.
A Simple Order to Work Through
- Menu content and pricing structure
- Brand look: logo, colours, fonts
- Menu printing
- Table tents, menu boards, or QR cards
- Cups and counter items
- Door hangers and opening promotion
- A final side-by-side proof of everything together
For what to prepare before requesting quotes on any of these items, see our artwork file checklist, or return to the main restaurant & café opening printing package guide for the full list of what DXBStamps prints for F&B businesses.