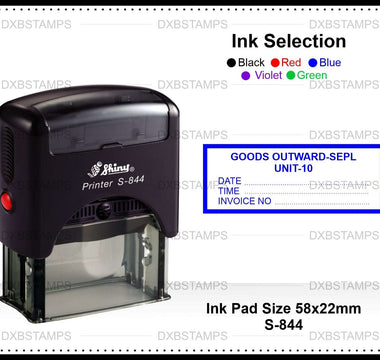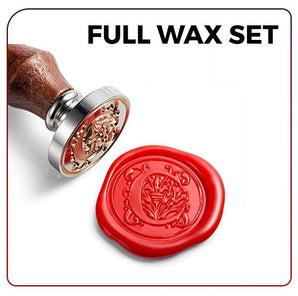
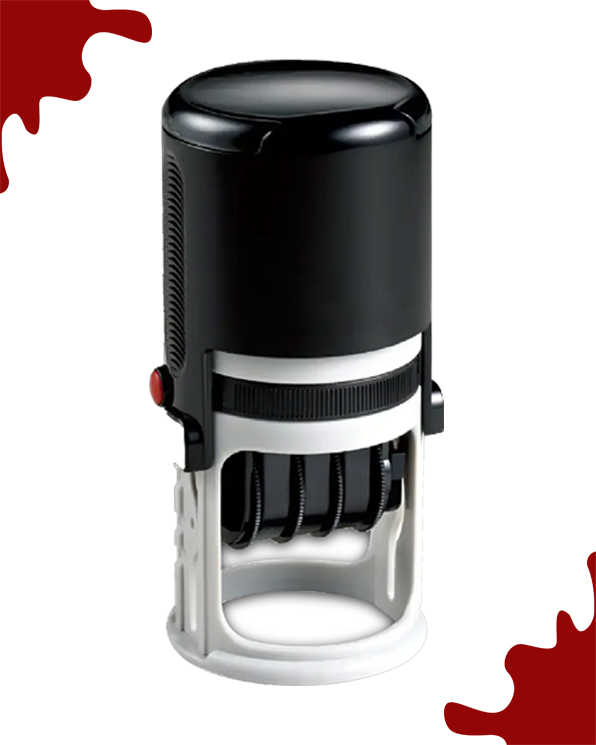
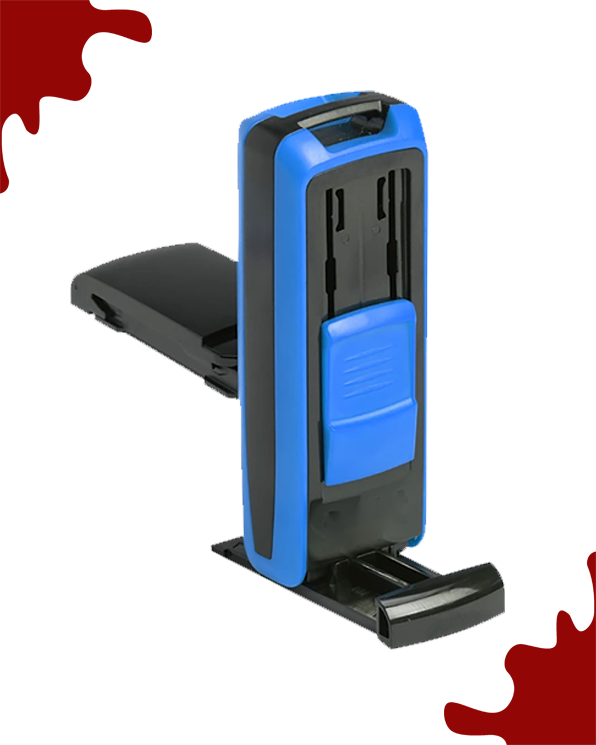




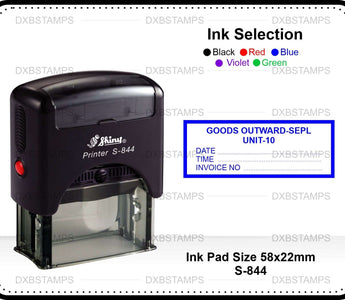
For a team order, set a common layout before collecting individual stamp requests. Keep the repeated elements fixed and clearly identify the wording that changes.
For options and an order enquiry, visit Custom Self-Inking Stamps.
Separate the shared and variable details
Choose the company spelling, language order and logo version once. Then list the changing name, department or message for each stamp. This prevents staff names or telephone numbers being carried over from the previous design by mistake.
Choose sizes from real paperwork
Collect examples of the forms used by reception, accounts and other teams. Measure the available spaces. Standardise where practical, but do not force a long department name into a stamp that was chosen for a short approval message.
Build a simple order table
Use columns for reference, wording, quantity, preferred ink colour and intended document. Add a separate row for every unique design. Mark the person who can approve each proof. A spreadsheet is more reliable for a team order than scattered corrections in several messages.
Check the finished set
Compare each test impression with the corresponding approved row. Label the stamp bodies where helpful and keep model details for replacement pads. When staff or wording changes, update the master list before ordering the next batch.
Read next: Faint Self-Inking Stamp? Check These Things Before Replacing It