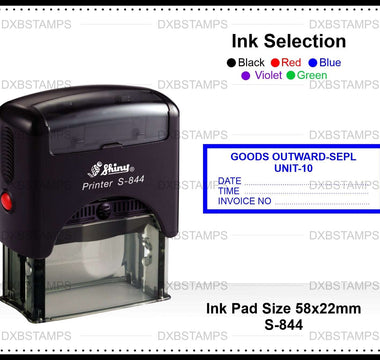
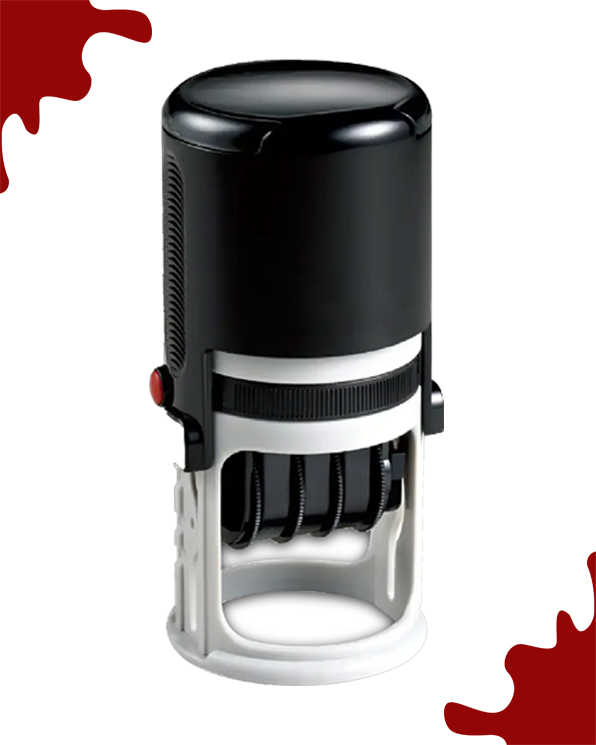
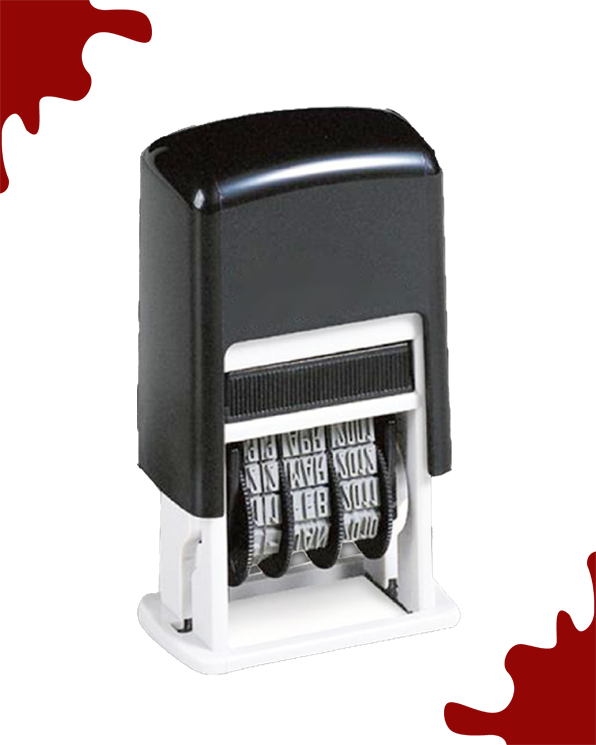


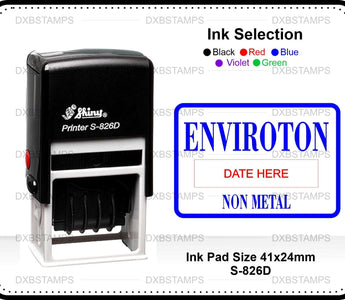
Start with the date format your team uses and a short label that states what the date records. A received date should be easy to distinguish from a checked or dispatched date.
For options and an order enquiry, visit Custom Date Stamps.
Define the meaning of the mark
Agree whether the stamp records arrival, review or another event. Put that wording on the stamp if the context is not obvious. Avoid using the same unlabeled date mark for several stages in a document workflow.
Confirm format and year range
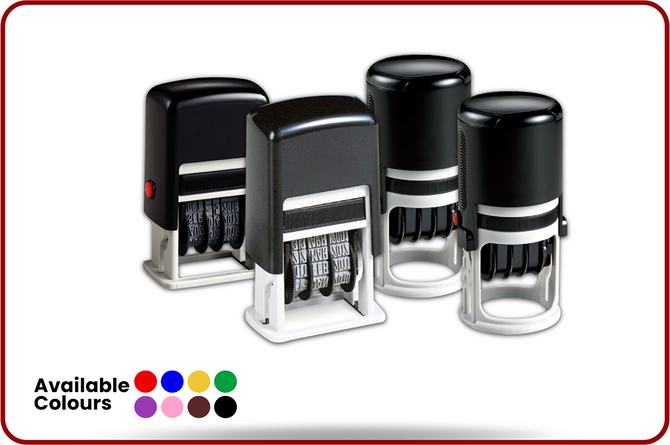
Check the date order and the year range available on the chosen model. These are mechanical details that cannot be assumed from a product photograph. If your team handles international documents, choose a format that recipients can interpret clearly.
Choose the fixed wording
Keep company or department details short enough to leave the date readable. Send a sample form and identify where the impression belongs. Ask for the full layout, including the date area, when reviewing the proof.
Add a start-of-day check
Assign responsibility for setting the date. Make a test impression at the start of the working day and after changing the bands. Keep the stamp on a firm surface and avoid marking over document text. This small check helps prevent a whole batch carrying yesterday’s date.
Read next: Date Stamp Bands or Fixed Text: What Can You Change Later?