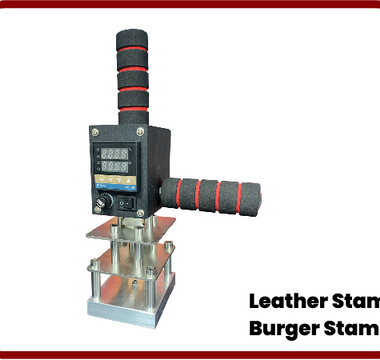

Use an offcut that matches the finished leather before applying a heat stamp to the product. The finish and material can change the result, even when the logo and tool stay the same.
For options and an order enquiry, visit Custom Heat Stamps.
Confirm compatibility first
Identify the leather type and any coating. Follow the guidance for the tool and material; do not guess a universal temperature from an unrelated demonstration. If the material or finish is uncertain, resolve that before applying heat.
Use a matching test piece
A scrap of different leather may not predict how the finished item will behave. Use a flat offcut from the same material where possible. Keep the working area suitable for hot equipment and follow the tool’s handling and ventilation instructions.
Change one setting at a time
Work within the confirmed operating guidance. Record the setup and test result so you can see the effect of a change. Avoid changing heat, contact time and pressure together, because it becomes difficult to identify what improved or damaged the mark.
Check detail before repeating
Inspect edges, small text and the surrounding finish after the test piece has cooled. Check whether the mark is readable and the surface remains acceptable. If the logo is too detailed at the required size, discuss a simpler die before marking finished stock.
Read next: Custom Heat Stamp Order Checklist: Die, Handle and Machine Fit